Start here: your first match
Beat the early waves with two or three cheap starter units, upgrade the damage unit first, and keep every toilet away from the golden statue. Waves pay cash as they clear, so spend it back on upgrades.
Your first Cameraman Tower Defense match decides whether the game clicks. The good news: it is designed to be winnable with almost nothing, and the systems that matter later — upgrades, unit caps, money — are all visible in your first ten minutes. This walkthrough covers the lobby, your first placement, the first upgrade, and the mistakes that cost new players their golden statue.
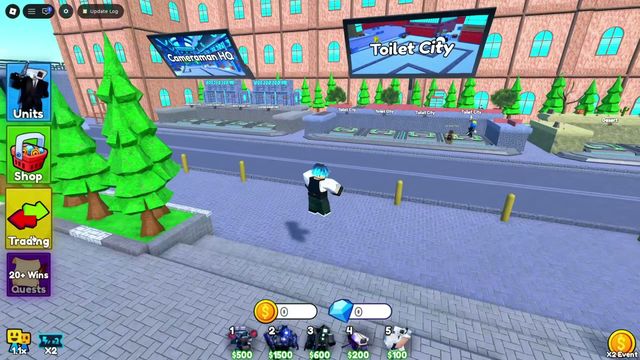
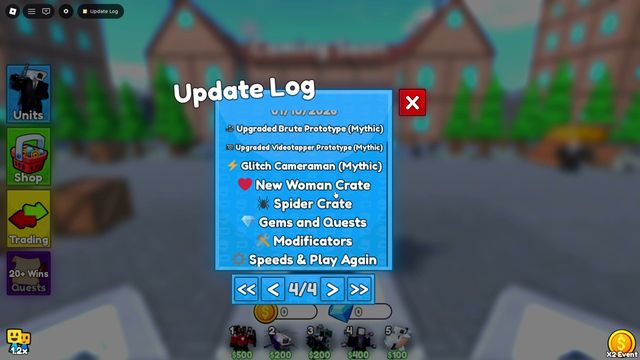
The lobby carries everything you need before a match. The left menu holds Units, Shop, Trading and the 20+ Wins Quests, the top corner has the Update Log, and the pad in the middle is how you start. Step onto a platform to load a match, choose the map and difficulty from the boards, and you are in.
For the first hour, pick Easy on Cameraman HQ — the starting map keeps your lanes short and readable, so you can watch what your units are actually doing instead of guessing.
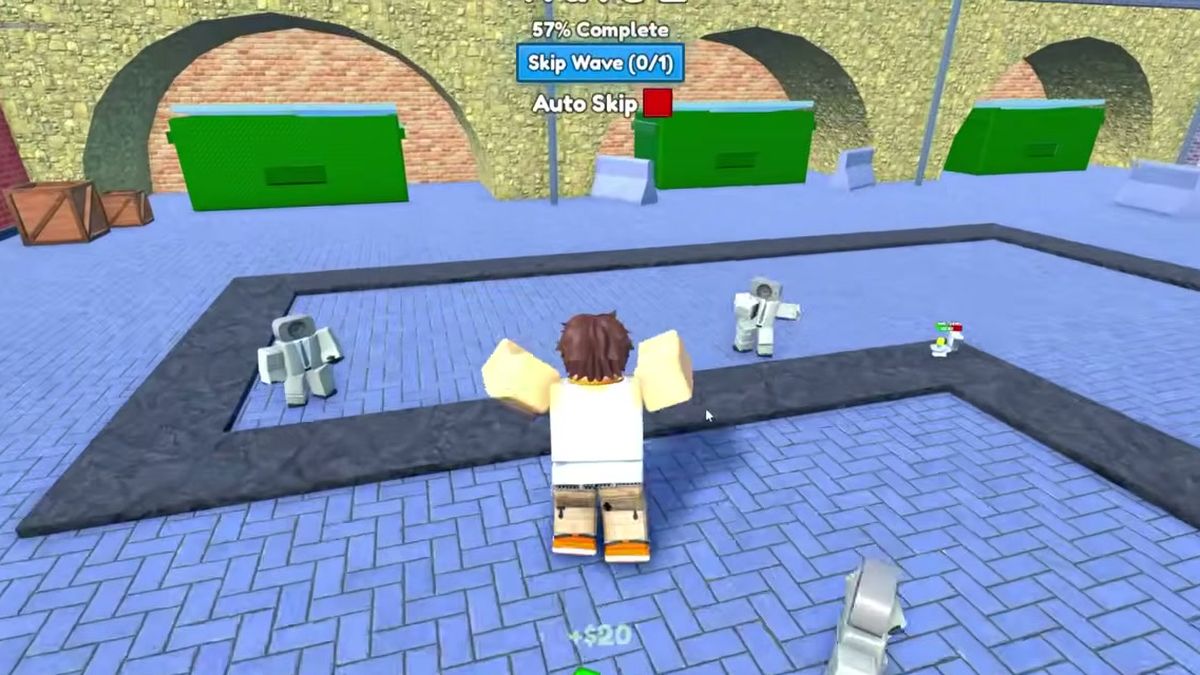
Your first match, step by step
- Step on the platform and pick Easy + Cameraman HQ.
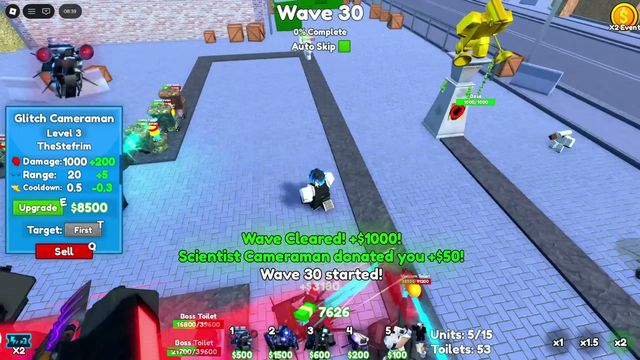
- Look at your hotbar. Slots 1–5 hold the units you can place this match; each has a price, and the cheapest starter units cost the least.
- Drop two or three cheap units before wave 1 — right where the toilets walk in, facing down the lane.
- Watch the first wave. Early waves pay out a small cash bonus when they clear (a few hundred), which is your upgrade fund.
- Upgrade your best damage unit first. Damage and cooldown both improve with levels, so one level 3 unit out-damages a row of level 1s.
- Fill holes, not lanes. If a second path opens, cover it next — a leak on an empty lane costs more than a missing upgrade.
- Check the base between waves. The golden statue is the loss condition. Every leak cuts into your margin.
- Win the match, then hit Play Again. The replay button dropped with the October update and reruns the same setup without a trip through the lobby.
What the better players do on wave 1
The current meta opener is short and unglamorous: place a Scientist, then a Plunger. The Scientist line earns extra cash while it fights — it is the economy engine of a long run — and the Plunger is the cheap body that keeps toilets off it. Once the Scientist is maxed, it opens the door to placing an Engineer, which is one of the strongest units in the game and one of the rarest.
You do not need any of that to win Easy. You do need it the moment you move up to Insane.
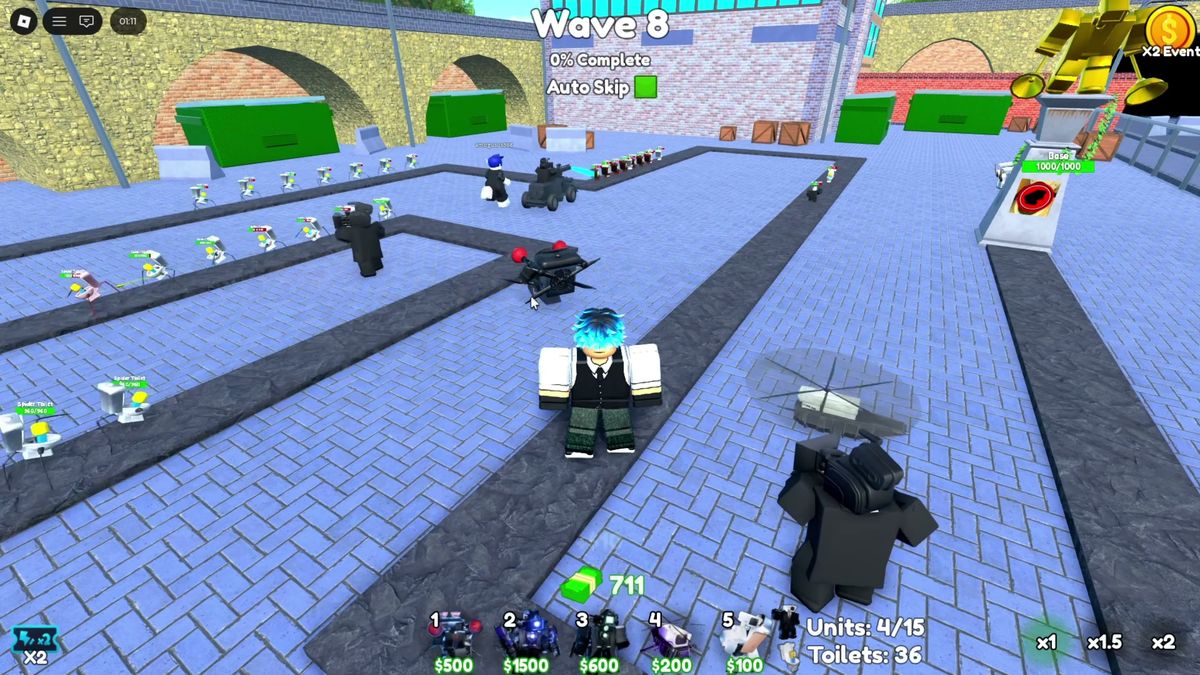
Where the money comes from
| Income source | How it works | Rough value |
|---|---|---|
| Wave clears | Cash lands automatically as each wave dies | A few hundred early, thousands later |
| Scientist unit | Pays bonus cash during the wave | Small, steady, stacks with kills |
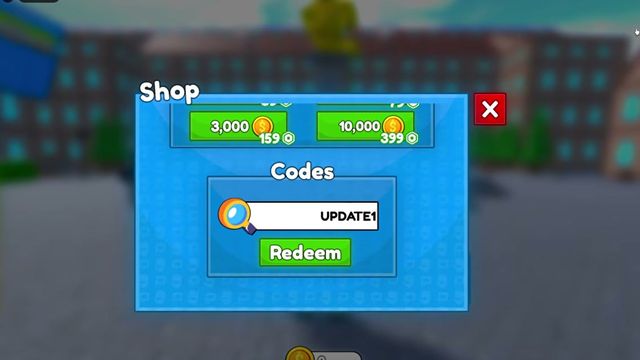
| Codes | One-time coin drops from the redeem box | Free — see the codes page |
| Quests | Unlock at 20+ wins, pay gems | Gems, not cash — Spider Crate money |
Five mistakes that fail first runs
- Hoarding. Cash on the bench does no damage. Spend it down to your next placement price.
- A wall of level 1s. Six weak units lose to the packs; three upgraded units win.
- Ignoring the second lane. Maps add paths quietly. Check the far side of the map every few waves.
- No answer to packs. By the mid waves, toilets arrive bunched. One AoE unit at a chokepoint is worth two single-targets.
- Never touching the Shop. The redeem box at the bottom of the Shop menu pays out free coins, and Quests turn wins into gems.
If something goes wrong
- A unit will not place. Check your cash first — the HUD shows the price. If the whole map refuses placement, rejoin the server; big patches have shipped with map bugs, and the developers hotfix them quickly.
- Toilets keep reaching the statue. You are under-invested in upgrades. Next match, bank early cash into one unit instead of a third placement.
- The wave timer drags. Later in a run, the game lets you auto-skip waves you have already solved — this is normal, and the Skip Wave pass exists for exactly that grind.
Once Easy is boring, the maps and modes page explains what actually changes on the way to Insane, and the units page has the numbers behind every pull you will chase.