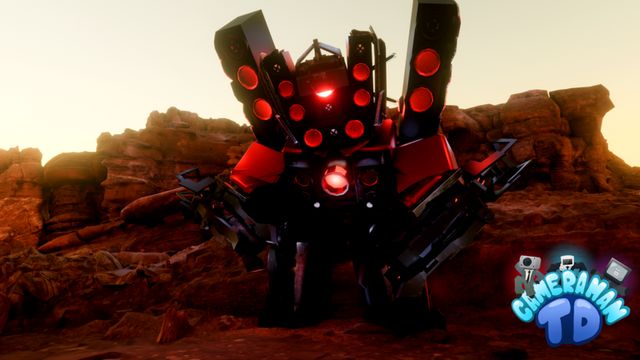
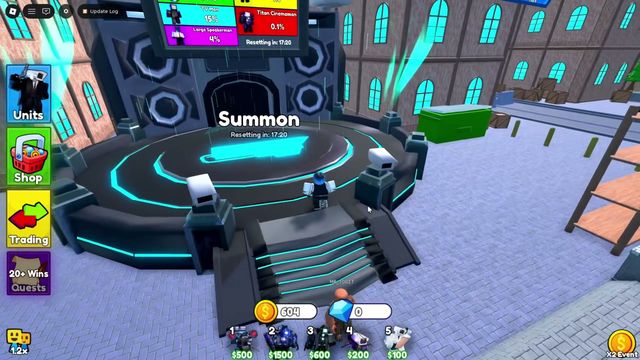
Hard and Insane mode strategy
Open with a Scientist, max it, then add Plunger and damage units. For bosses, tank with Engineers: one maxed Engineer fights like a Titan, and two handle a boss toilet. Expect 30+ waves before the run is won.
Insane mode is where Cameraman Tower Defense stops being a wave-clearer and becomes a resource puzzle. The waves get fatter, the leaks get fatal, and the only currency that matters is how fast you convert cash into upgraded damage. Here is the plan that high-wave runs are built on.
The opener: Scientist first
The standard start is two units: Scientist, then Plunger. The Scientist earns while it fights, so every early wave it survives pays for later upgrades; the Plunger is the cheap body that keeps toilets away from it. Max the Scientist before you do anything else — it is also the unlock for placing Engineers, the backbone of a serious run.
Then bank into one damage carry. In October 2026 the best carries are the prototype trio (Glitch Cameraman, Upgraded Brute Prototype, Upgraded Video Tapper Prototype) — full numbers on the units page. A maxed carry beats four mid-level ones; upgrade before you widen.
Engineers are the run's spine
Engineer Cameraman is the rarest unit in the game — 333 existed at the October check — and it is not a flex, it is infrastructure:
- one maxed Engineer fights like a Titan Cameraman
- two of them take down a boss toilet head-on
- they hold a lane while your damage units do the work behind them
If you have one, it goes on the hottest tile. If you do not, the Plunger line is the budget stand-in until a trade or a pull fixes it.
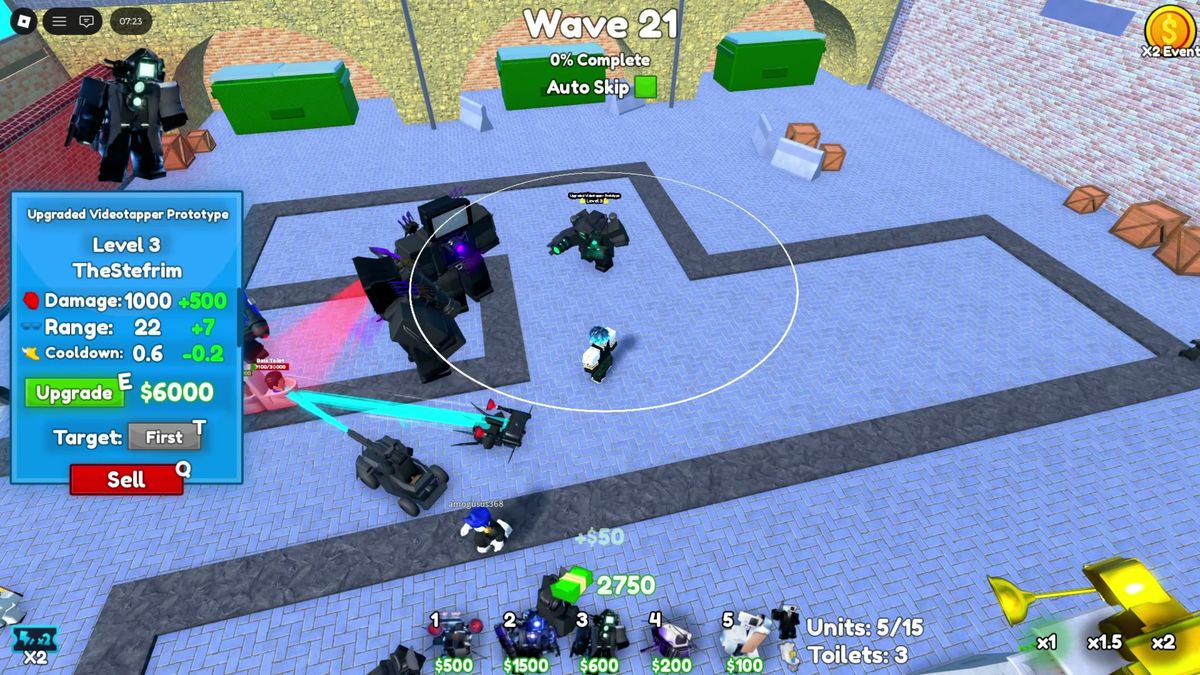
Boss waves and the late game
Waves run deep — hard runs hit the 30s before the win, and the last third of a run is all bosses and packs:
| Threat | What it does | Your answer |
|---|---|---|
| Boss toilet | Tanky single target | Two Engineers, or carry burst up close |
| Infected speaker titan | Boss-tier HP, slow push | Sustained DPS, nothing fancy |
| G Toilet 3.0 | Late-run wall | Everything maxed, plus a clean chokepoint |
| Toilet packs | Numbers, numbers | AoE — Speaker Woman or a Spider if you have one |
The pattern across all of them: single-target DPS kills the boss, AoE keeps the pack off your damage units. If a run keeps dying on the same wave, it is almost always the pack clearing the boss's support squad.
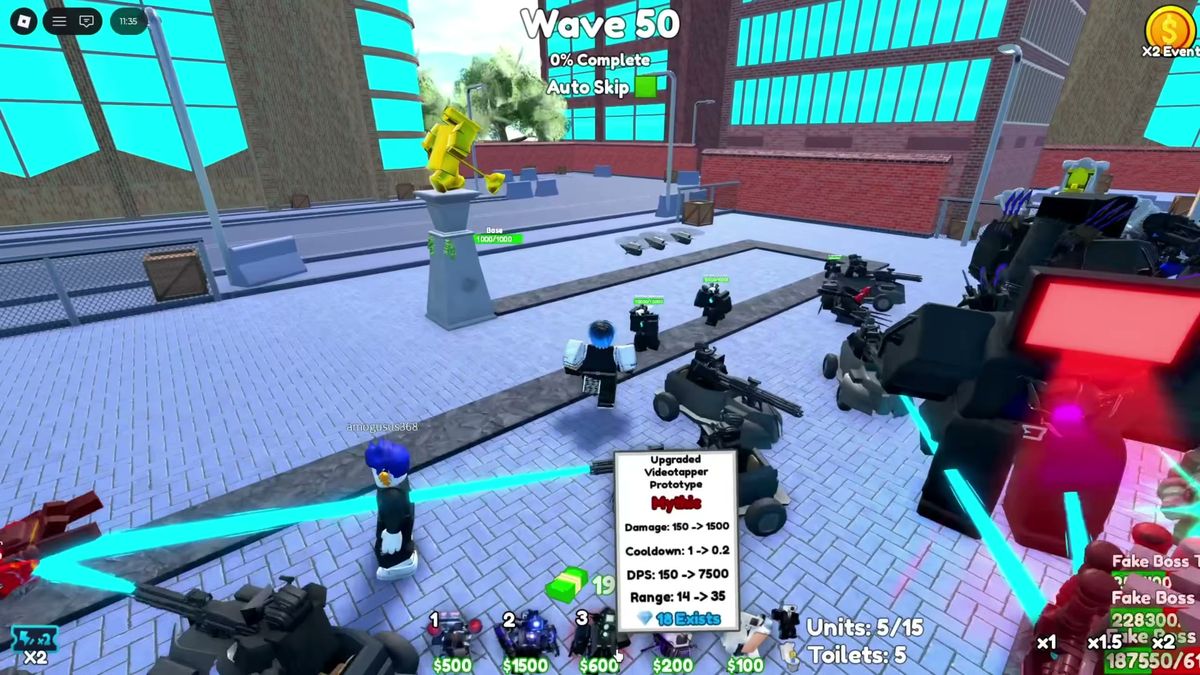
Pre-run checklist
- Scientist placed first, maxed before wave 10
- One carry chosen and fed — upgrades over extra placements
- AoE tile at the map's main intersection
- Engineers (or Plunger line) covering the boss lane
- Skip-pass or Auto Skip ready for solved waves — the 2x speed pass pays for itself in a long grind
- 20+ wins banked so Quests are running in the background
Mistakes that end runs
- Spreading upgrades. Six level 1s fold to the first pack. Go tall.
- Chasing placements on a capped board. Check the unit counter; a useless tile is worse than an upgrade.
- Ignoring the second-half economy. Scientist income compounds — protect it like a win condition, because it is one.
- Playing Insane before the roster is ready. If Normal still leaks, Insane will just be slower about it.
Once a full run is routine, put the same plan on every map — the placement math changes, the opener does not.