Maps and modes
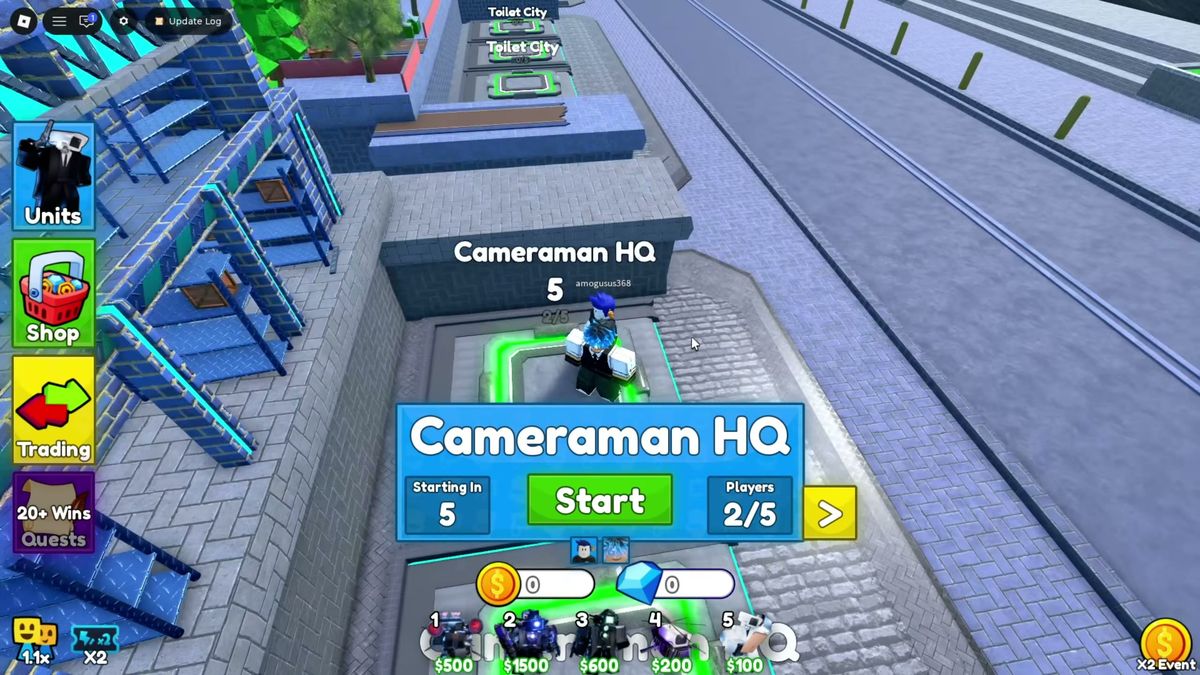
Pick from Cameraman HQ, Toilet City, Toilet Sea, Toilet HQ and Desert, then run Easy, Normal or Insane. Front-door maps like Toilet City want early damage; open maps like Desert want cover on every lane before wave 10.
Load into the lobby and you get three choices before the first toilet spawns: map, mode and squad size. The map boards in the plaza are the menu — Cameraman HQ, Toilet City and Desert hang on the wall in the main hall, and two more rotate through the list: Toilet Sea and Toilet HQ. Difficulty sits next to map choice: Easy, Normal and Insane.
Here is the thing most new players miss: the map matters more than the mode. Mode scales the wave numbers, but the map decides whether you have three clean firing lines or one awkward corner. Easy mode on a bad map loses harder than Normal on a good one.
The maps at a glance
| Map | Shape | What it wants from you |
|---|---|---|
| Cameraman HQ | Tight interior, short lanes | The starter map. Upgrade-heavy, forgiving |
| Toilet City | Streets with corners | Chokepoint AoE. Stack units where two lanes meet |
| Desert | Open ground, long approaches | Range. Long sightlines reward 25-range units |
| Toilet Sea | Wide, wet and open | Coverage. Every lane needs a body before wave 10 |
| Toilet HQ | Interior rework of the enemy side | Heavy wave maps; check device performance here |
Maps run at up to 30 players on a server, and placements are first come, first served — in a full server, a slow start means the good tiles are gone.
Modes
| Mode | What changes | First-timer advice |
|---|---|---|
| Easy | Softer waves, the same mechanics | Where you should learn |
| Normal | The standard curve | Once one upgrade habit is automatic |
| Insane | Bigger waves, thinner margins | Bring a maxed carry and an Engineer plan |
| Solo / Duo | Same maps, fewer players per lane | Solo is a gear check; duo splits lanes cleanly |
Placement rules that work on every map
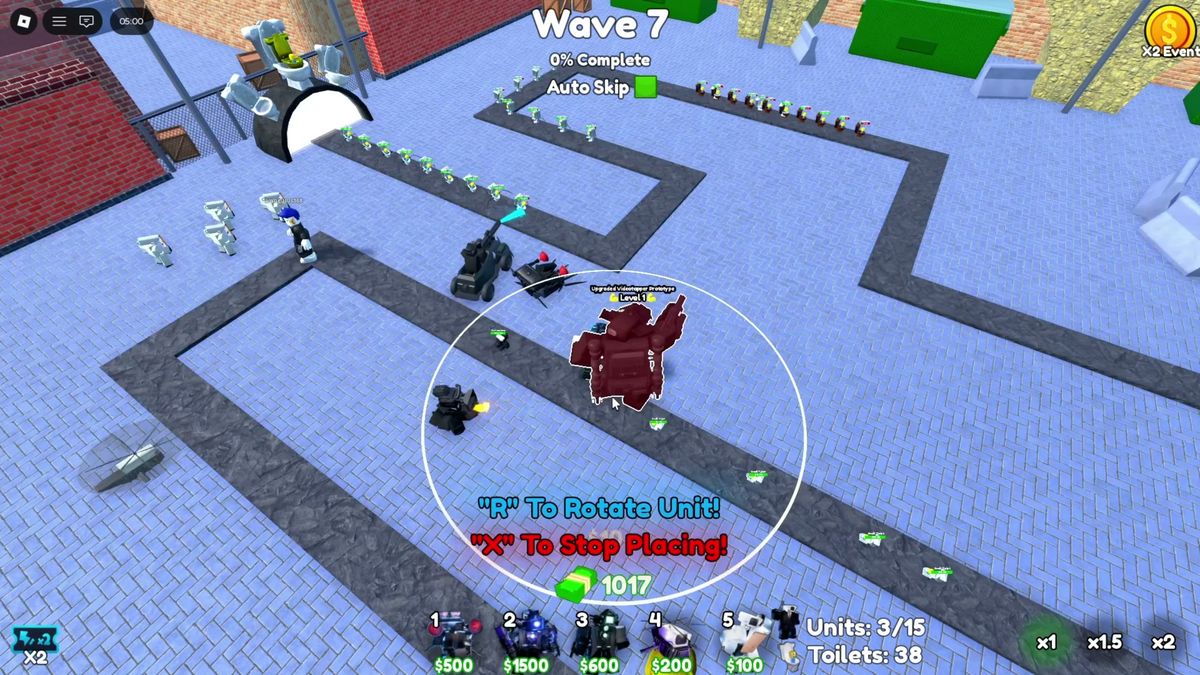
- Front-load the first lane. Kill early, kill cheaply — the first tiles after the spawn door earn the most value.
- Then mid-court the intersection. Every map has one square where two lanes see the same tile. That tile gets your AoE.
- Range is a placement multiplier. A 25-range unit placed one tile back can still hit the front line — and survives longer when bosses push through.
- Never spend your whole balance on placement. Keep one upgrade in the bank at all times; a mid-wave upgrade saves runs.
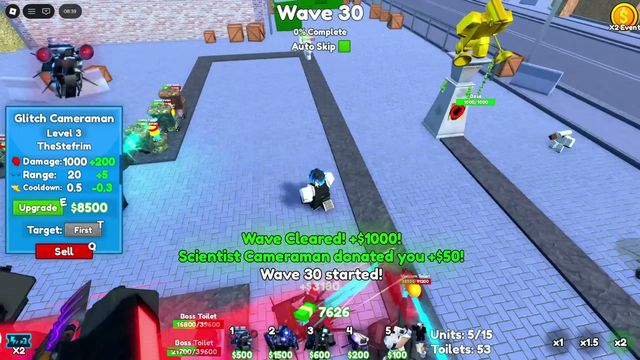
- Watch the unit cap. The HUD counts placed units against the mode cap (a mid-run capture shows
5/15), and you will never cover every tile. Quality over quantity.
The enemies page explains what each map's late waves throw at you; the hard mode page turns these placement rules into a full run plan.